Home » Page 3

Matchbox Advent Calendar

Christmas is only 7 weeks away but it’s not too late to create your own advent calendar. Here’s a simple but effective and easy to make idea created by Tanja Kunz…

Materials:
1643511 Matchbox, 110 x 60 x 20 mm, white
1643505 Matchbox, 53 x 36 x 15 mm, white
1626550 Froggi Universal Glue, without solvent
4657720 Décopatch® Sheet, 30 x 40 cm, black white
4657710 Décopatch® Sheet, 30 x 40 cm, white black
4650018 Paperpatch® Glue/Varnish
1988506 Pigment Liner, 6 Stk, black
1880714 Gussow China Bristled Brush, flat, Gr. 14 / 12 mm
1549933 My Colors Cardstock, 30.6 x 30.6 cm, Coral Rose
1549901 My Colors Cardstock, 30.6 x 30.6 cm, Snowbound
1549989 My Colors Cardstock, 30.6 x 30.6 cm, Black Magic
1791008 Punch M, Rectangle, 22 x 12 mm
1790008 Punch S, Rectangle, 14 x 8 mm
1789919 Punch XS, Star, 9 mm
1793001 Punch L, Square 1-1/2 Inch, 26 mm
1795001 Punch 3XL, Square 3 Inch, 53 mm
1802532 Comfortline Scissors

In addition: Pencil, Water Container with water, Paper towel


1. Place the Decopatch paper face down on your work surface. Position different sized matchboxes on it, trace around them and cut out the paper. Coat the boxes bit by bit with Decopatch adhesive, pressing the paper in position and brush over with more adhesive. Leave to dry.

2. Use punches to cut the stars, windows, doors and roofs from the cardstock, cutting them to size where necessary.

3. Finally, glue the card pieces to the boxes with universal glue and draw numbers from 1 to 24 with the Pigment liner.

To view Efco’s full range of craft punches check out the Everything for Paper section of the main catalogue and for their range of Decopatch papers see the Decopatch catalogue both of which are available to view here.

Rustic wood veneer lampshade

With everyone getting more eco-friendly these days Efco’s wood veneer and cork products open up possibilities for creating more natural designs such as this wood veneer lampshade…

Wood Veneer Woven Lampshade
Designed by Kathleen Hauck

Tools:
1802913 – Soft Cut Premium Line Scissors
1802730 – Aluminium Ruler
1802521 – Knife with Professional Blade
1802526 – Craft Mat
1804102 – Hot Glue Gun 55 W for ø 11.2mm
1805005 – Glue Sticks

Materials:
2213015 – Lampshade frame, round 15cm/ø 15cm
2002201 – Waxed Cotton Cord, ø 1mm, 100m, white
3480120 – Wood Veneer, 20cm x 1.25cm, natural
2690000 – Electric Light Holder with switch

Additional: pencil, bulb

1. Cut 12 pieces of waxed cotton cord approx. 40cm long. Wrap a piece of cord in the middle between two struts of the frame and tie a knot. Then tie a piece of cord in the middle between the first cord and a strut. Repeat for the other side of the first cord. Trim the excess cords. Repeat around the lampshade frame so that you end up with 3 cords even distributed between all the struts.

2. Cut a 50cm long piece of wood veneer. Cut two 3cm wide strips and six 2cm wide strips from this piece. Starting with a 3cm wide strip, position the end behind one of the struts. Weave the strip in and out of the cotton cords and struts. Due to the even number of struts/cords (16), the wood veneer strip will end up exactly at the beginning (i.e. behind a strut). Glue the end of the strip to the beginning (behind the strut) using a hot glue gun. Continue in the same way with a 2cm wide strip, except make sure that it begins in front of the strut rather than behind. Continue in the same vein with three more 2cm wide strips and finally a 3cm wide strip, alternating where you start i.e. in front or behind a strut.

3. Use the hot glue gun to stick the two remaining 2cm strips around the top and bottom of the frame to hide it. Attach the electric light holder to the frame and insert the bulb.

Festive Lantern

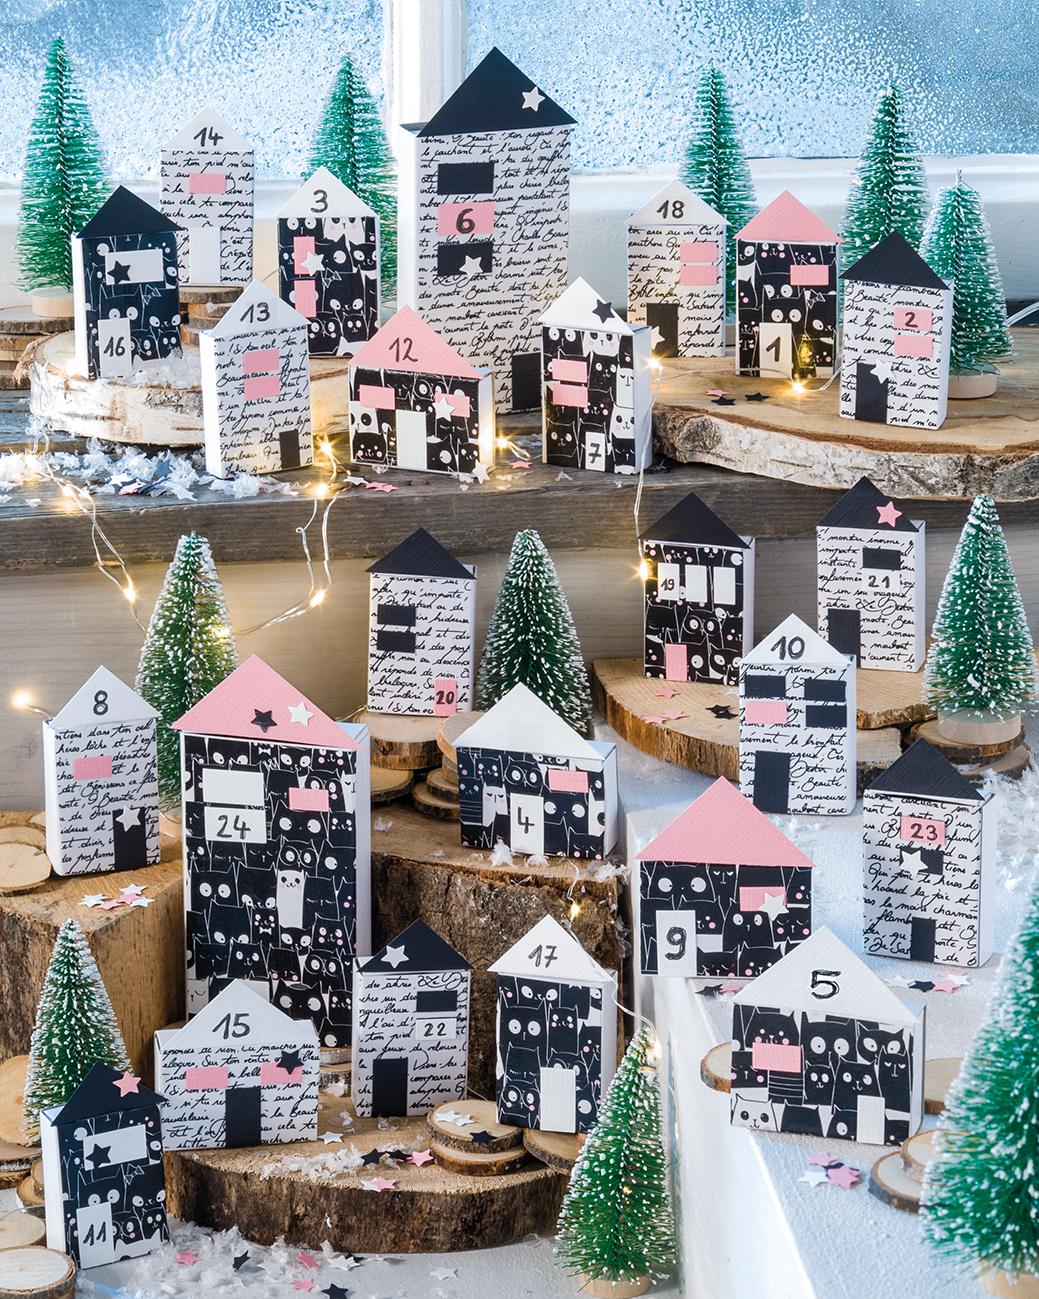
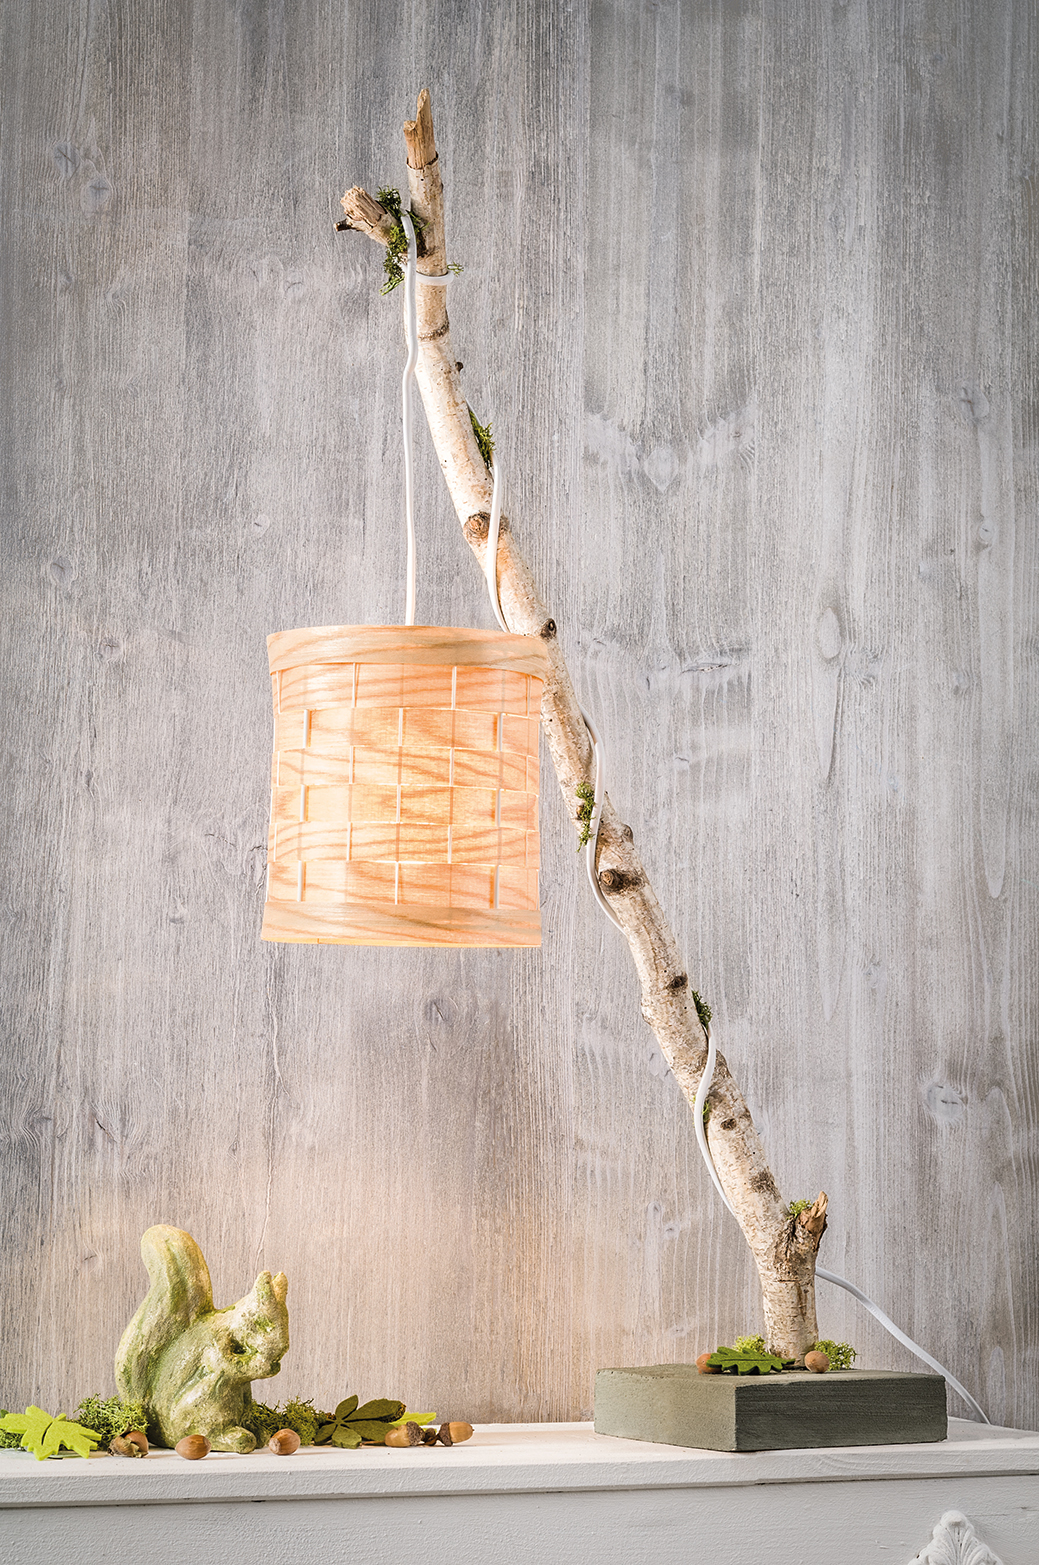
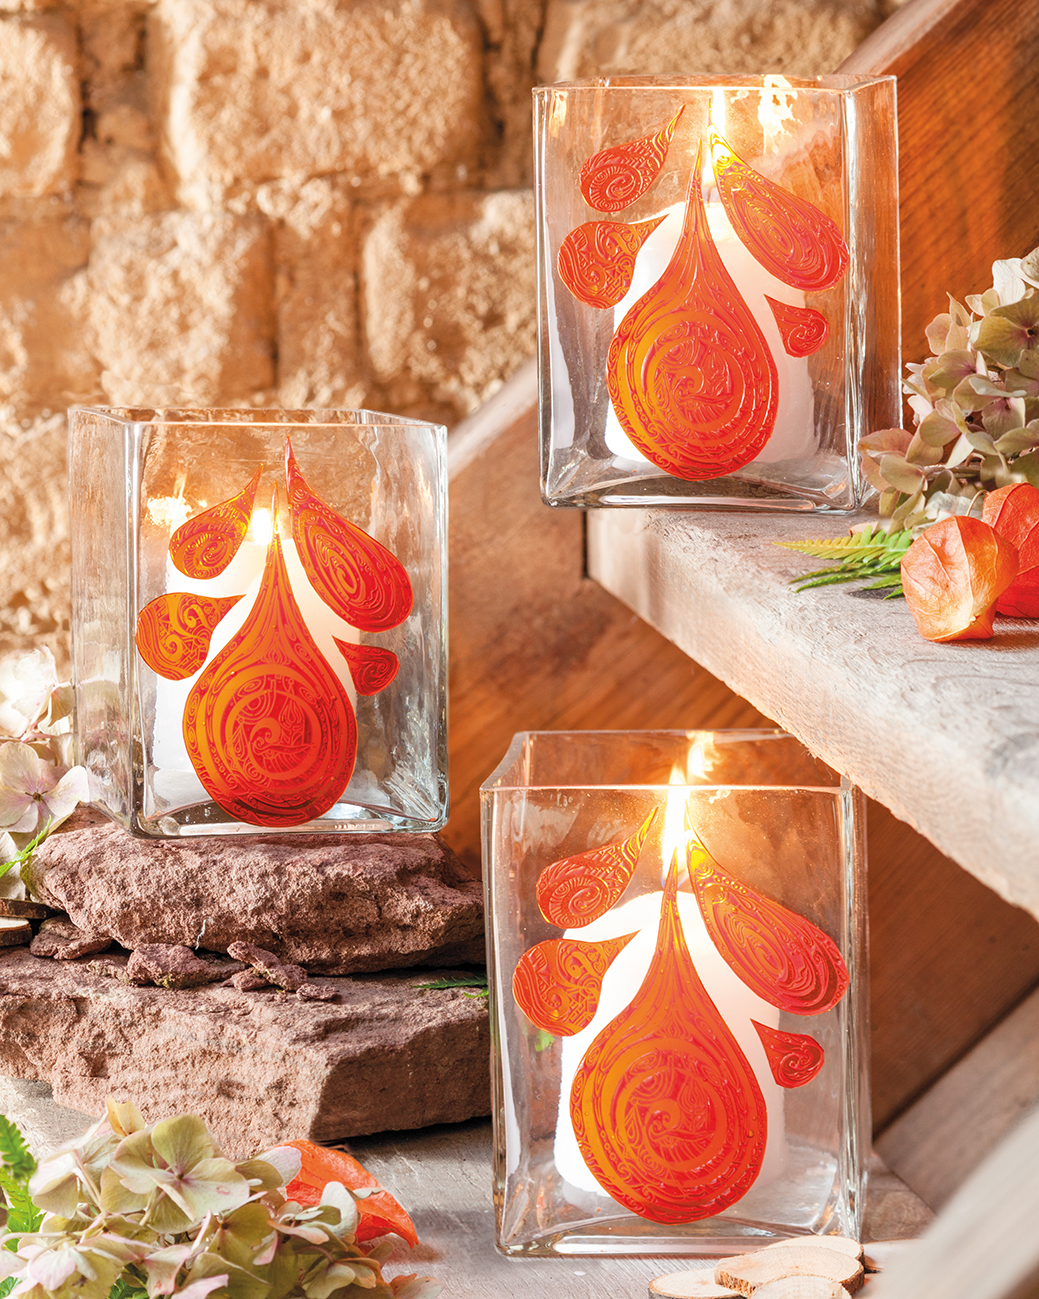
With Christmas fast approaching the festive season is upon us so why not try these multicoloured Creaflexx Lanterns with Starshine Foil created by Kathleen Hauck
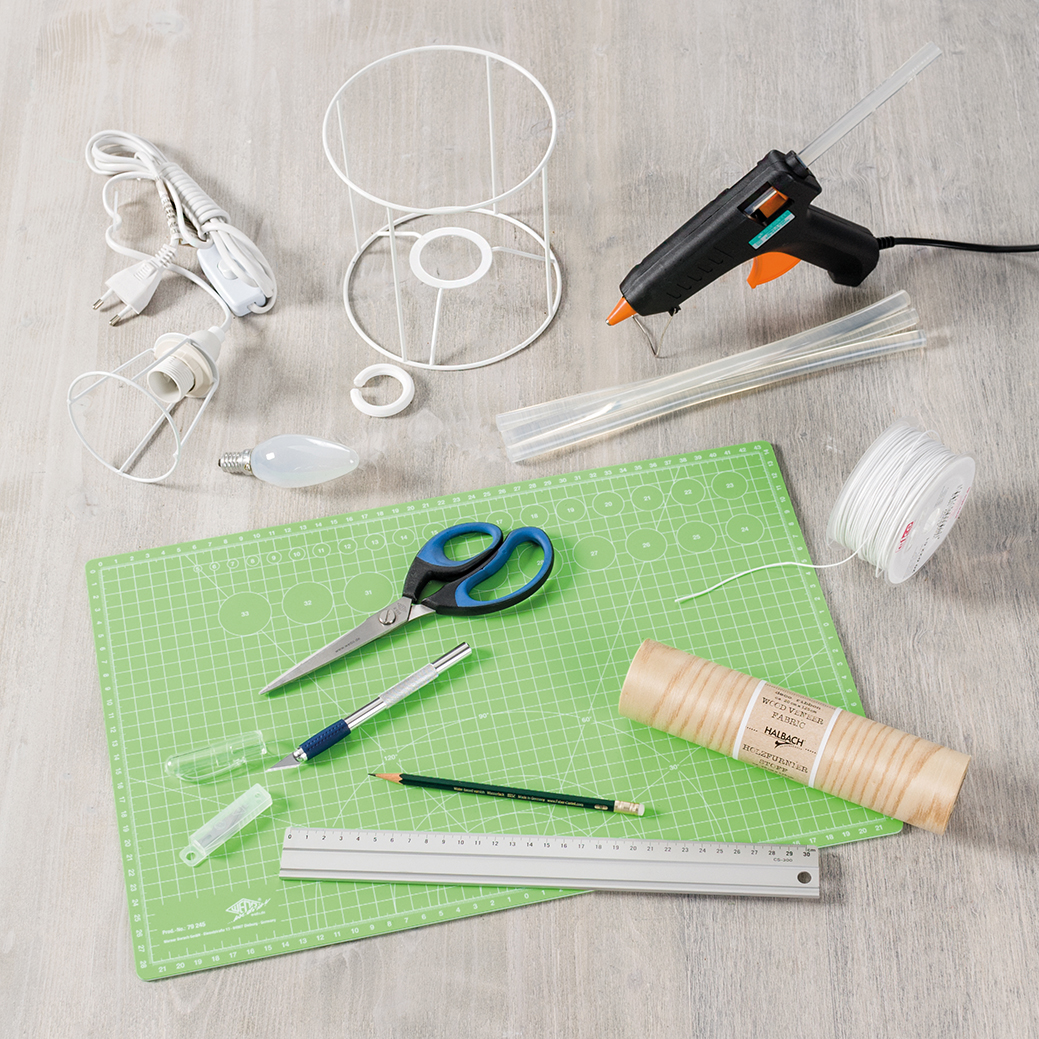
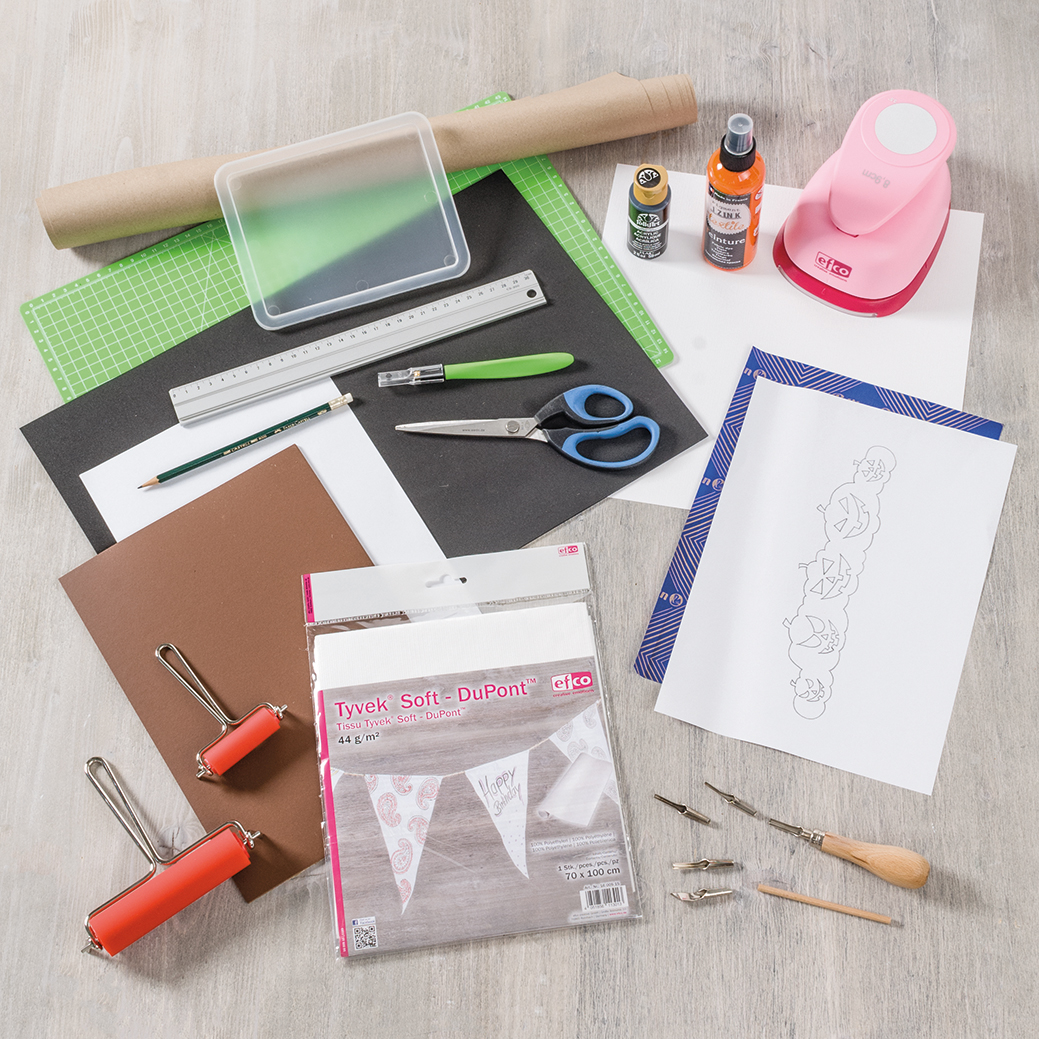
Tools:
1802730 Aluminium Ruler 30 cm
1802510 Soft-Cut Premium Knife inc. 2 blades, 9 mm
1802526 Comfortline Cutting Mat DIN A3
1802913 Soft-Cut Premium Line Scissors, 21 cm, black/blue
1880420 Flat Paintbrush Synthetic Hair, Gr. 20 / 19 mm
1879900 Paintbrush Water Container, Plastic
9311433 Mixing Palette, 6-parts, 24 x 19 cm
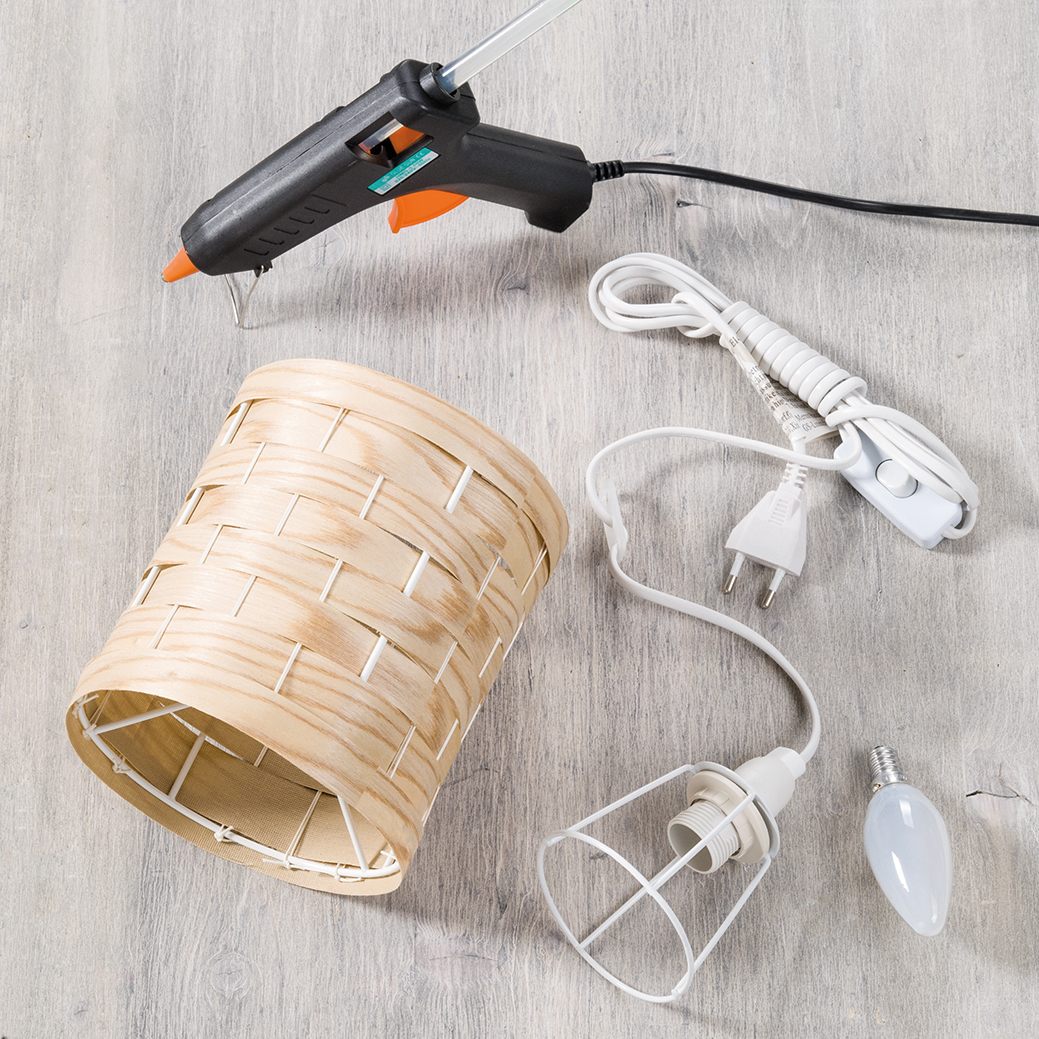
1803901 Heat Gun, 230 Volt / 300 W
1827009 Awl, 9 cm
1801903 Combi Pliers, 12 cm

Materials:
3400002 Creaflexx, adhesive coated on one side, 50 x 75 cm / 1 mm, white
6832007 Martha Steward Acrylic Satin, 59 ml, Granny Smith
6832003 Martha Steward Acrylic Satin, 59 ml, Scottish Highlands
6832016 Martha Steward Acrylic Satin, 59 ml, Surf
6832019 Martha Steward Acrylic Satin, 59 ml, Greek Tile
2002257 Waxed Cotton Cord, ø 1 mm, Light Turquoise
2002261 Waxed Cotton Cord, ø 1 mm, Light Green
1177235 Soccer Buttons, Varicoloured
1405548 Wooden Beads, 8 mm / ø 2.3 mm, 25 g / ~ 118 Stk., blue mix
1405561 Wooden Beads, 8 mm / ø 2.3 mm, 25 g / ~ 118 Stk., green mix
1000402 Starshine Foil, milky transparent, 50 x 35 cm / 0.33 mm
1520606 Tacky Special Double-sided Tape, 6 mm x 10 m, transparent
2689110 LED Fairy Lights, Warm White inc. Battery, 10 LED‘s, White/Silver wire
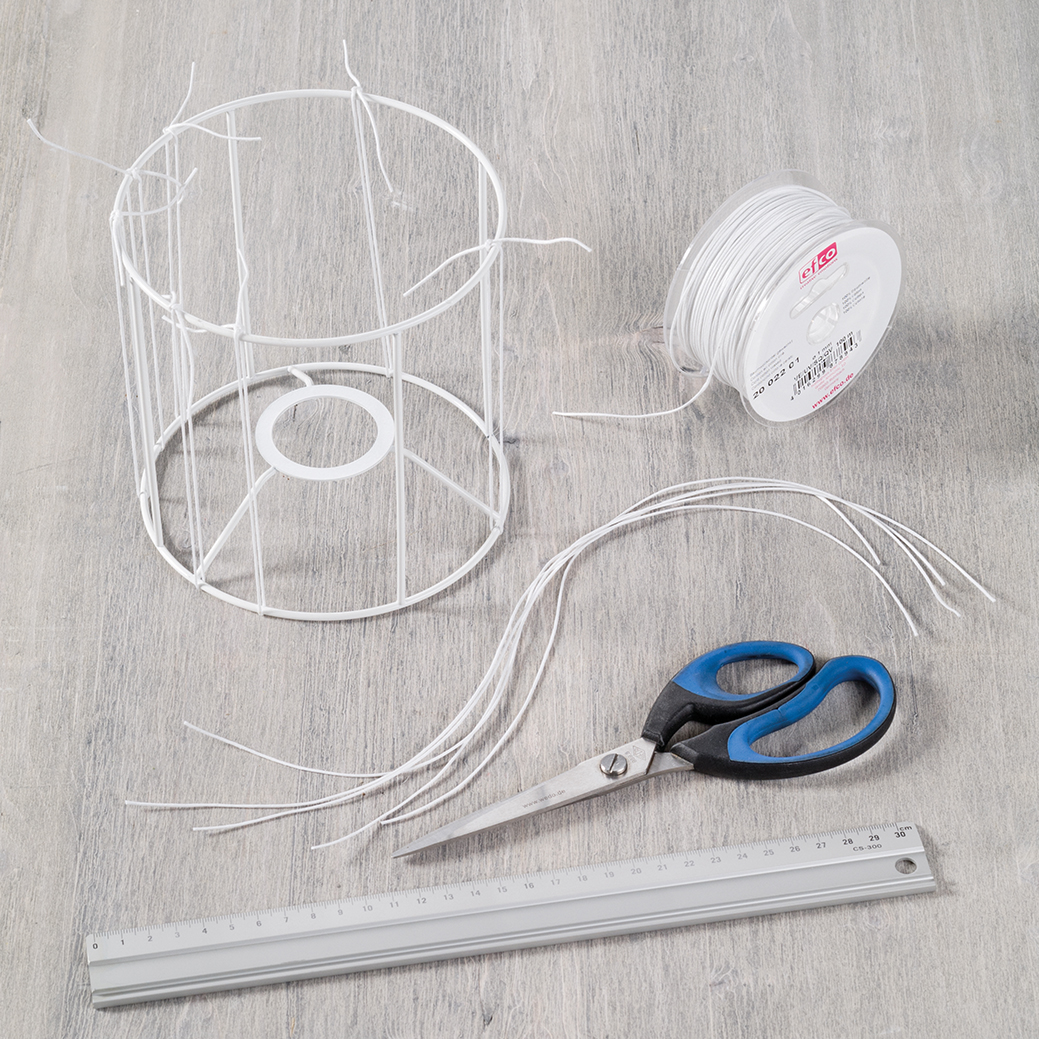
1621600 Wire Lantern Handles, 19 cm / ø 1 mm
1621501 Lantern Rod with Wire, 60 cm

In addition: template, pencil, painting pad, thin cotton gloves, heat resistant pad

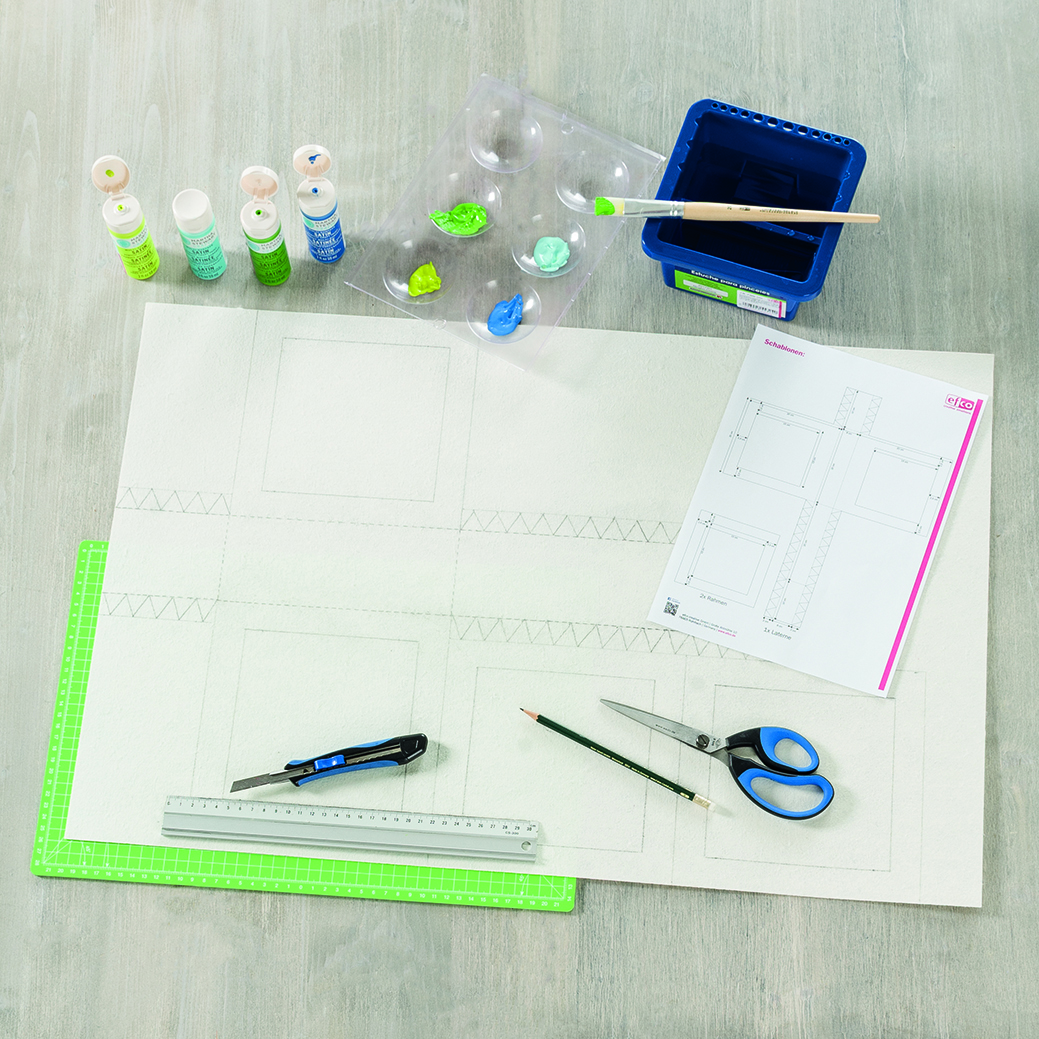
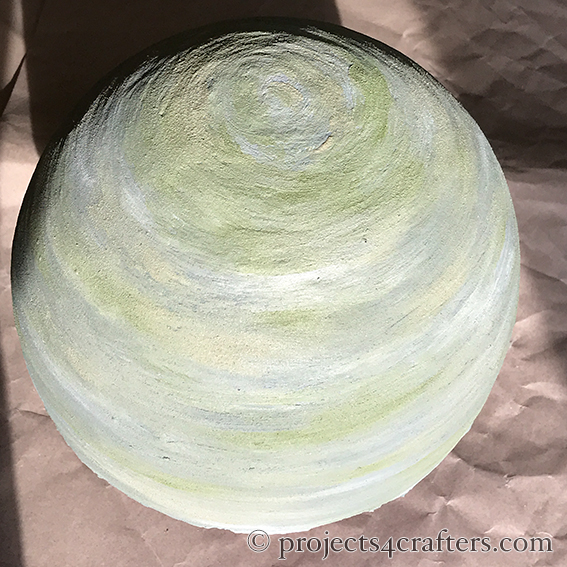
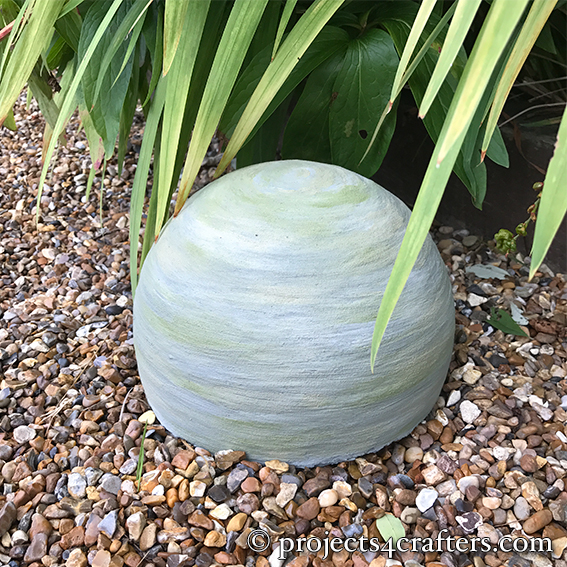
1. Transfer the lantern pattern (as shown) onto the Creaflexx and cut it out. Cut the openings with a craft knife. Basecoat the lantern with the dark green acrylic and leave to dry slightly. Then apply the other three acrylic paints randomly by picking up a little paint with the brush, dabbing it onto the paint palette and then brushing irregular, different coloured strokes on top of the dark green. Leave to dry.

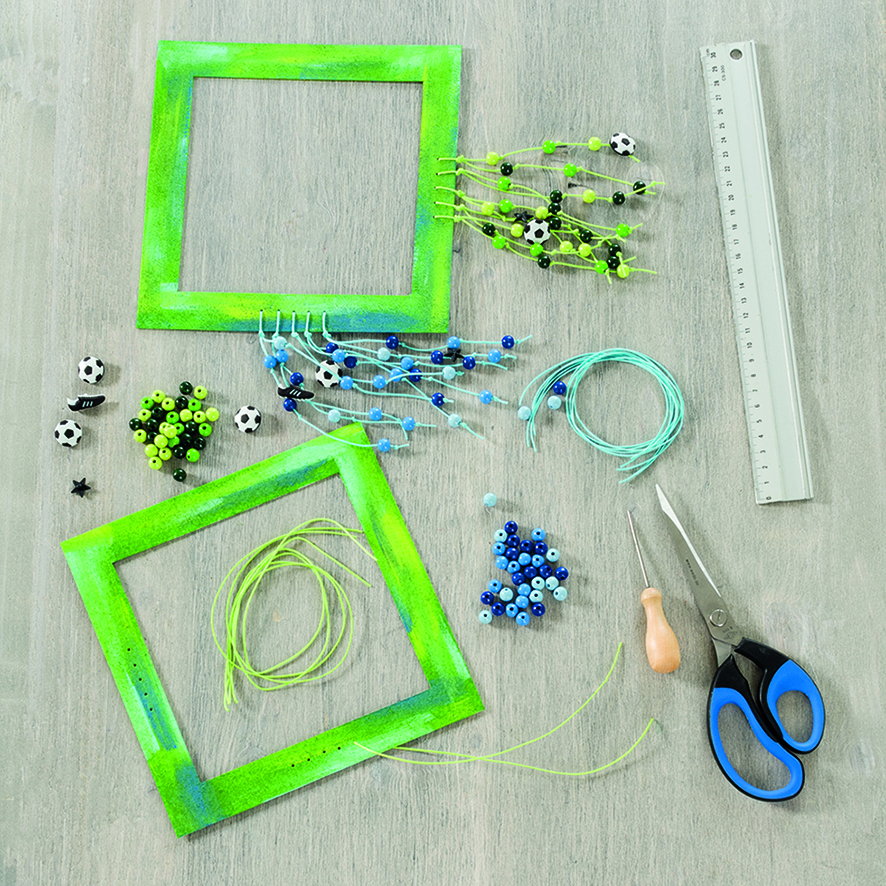
2. Take a Creaflexx frame and on two juxtaposed sides use the awl to make holes in the centre at 8cm, 9cm, 10cm, 11cm and 12cm. (Push the awl 1-2 cm through the Creaflexx as you need to make sure the holes are large enough so that the thread can be easily threaded through.)

Cut five 40cm pieces of green cotton cord. Thread a length of cord through each hole in one side of the frame to the centre of the cord. Fold the cords in two, tying a knot in each close to the frame edge. Thread 2-3 wooden beads from the green bead mix on the end of the strings with an occasional football button. Tie a knot in the cords after threading each bead, varying the height as you go. Repeat with the turquoise cotton cord and the blue bead mix for the other side of the frame.

Repeat for the second frame.

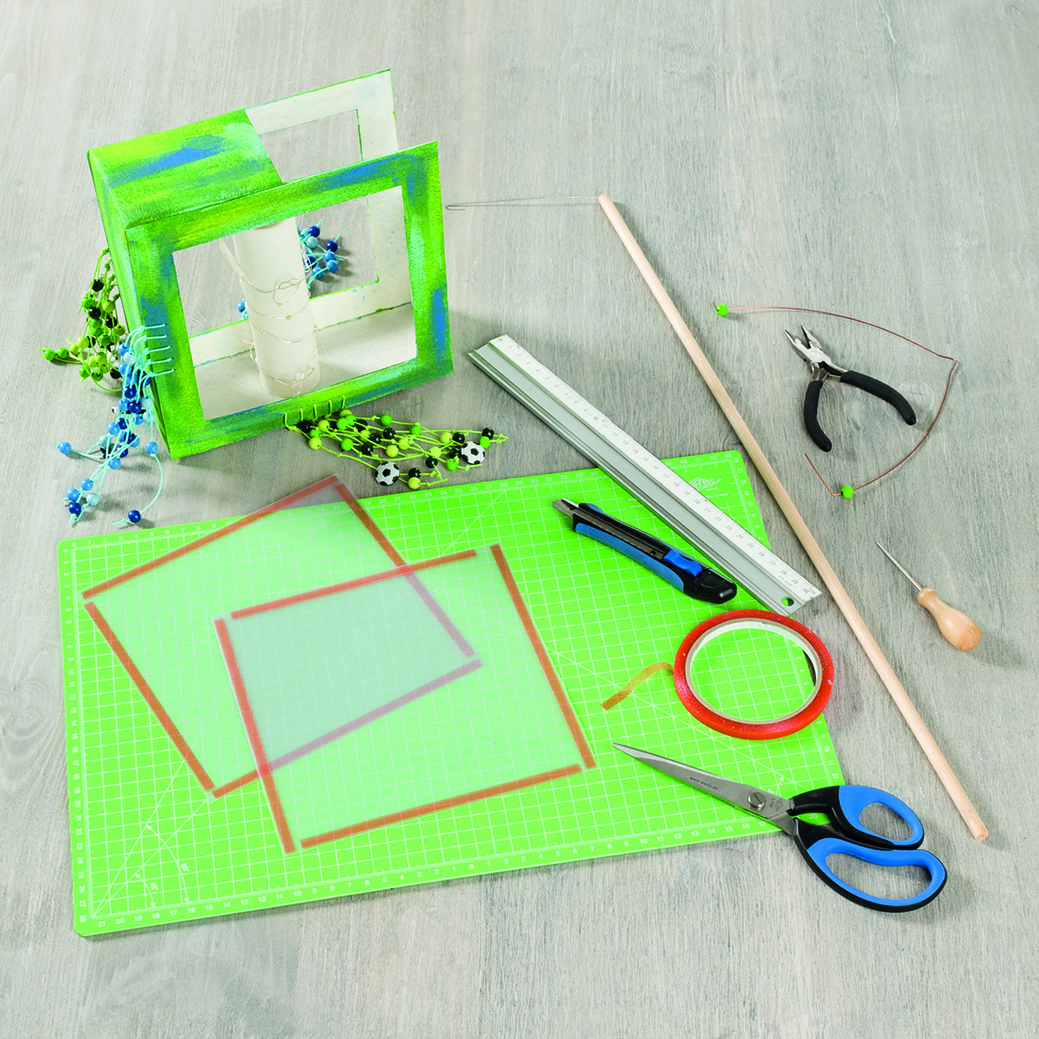
3. Place the large lantern coloured side down. Heat the taps with the heat gun and bend them upwards at a right angle. Keep them in position with a ruler until the Creaflexx starts to cool down and retain its shape (2-3 minutes). Then heat one side of the lantern and bend it up at a right angle. Hold it in position until it cools down. Repeat for the other side. Heat the sides with tabs, bending them around the upright sides, sticking the tabs to the outside of the frame. (As long as the Creaflexx is warm the adhesive will stick and then hold when cold.)

Heat a frame from Step 2 and stick it to one side of the lantern with the beads hanging down on the two closed sides. Heat the second frame and stick it to the other side of the lantern.

Note: We recommend wearing thin cotton gloves when working wth Creaflexx as the glue can become very hot when heated.

4. Heat and roll up the inner part of the frame (approx. 15 x 15 cm of Creaflexx) to form a 15cm long tube. Loosely wrap the fairy lights around the Creaflexx roll and insert the battery compartment inside the tube. Place the lantern on one side and heat this side from the centre with the heat gun. Press the roll in position in the lantern.

5. Cut out two 19 x 19 cm pieces from the star shine foil. Stick Tacky double-sided tape around the edges of the glossy side of the foils and then stick them to the inside of the lantern.

Use the awl to pierce a hole through the tip of the lantern, front and back. Put a wooden bead on one side of the lantern wire. Bend the wire at about 3 cm and thread it through one of the holes before bending it upwards and sliding the wooden bead down over the end. Repeat for the other side of the lantern wire before attaching the lantern rod.


Check out the Trends Autumn/Winter 2017 catalogue for Creaflexx and Starshine Foil.

Pumpkin Table Runner

Tyvek is a versatile product as it can be sewn or glued and doesn’t rip easily. Not only does it make it ideal for kite making but also for party table runners, especially themed children’s parties!

Get ready for Halloween with this spooky Pumpkin Table Runner designed by Kathleen Hauck…

Tools:
1802913 Soft-Cut Premium Line Scissors, 21 cm, black/blue
1802523 Comfortline Scalpel inc. 5 blades
1802526 Comfortline Cutting Mat, DIN A3, printed both sides
1802730 Aluminium Ruler, 30 cm
1812100 Lino and Wood Cutting Tool Set
1813100 Roller, 60 mm
1813300 Roller, 120 mm

Materials:
1600515 Tyvek Soft – DuPont, 70 x 100 cm, 44 g / m², white
1797010 Punch 4XL, Circle 3.5 Inch, 88 mm
Papier Offcut eg: 1549901 My Colors Cardstock snowbound
1851004 Lino Sheet, DIN A4, 3.2 mm
6000938 FolkArt Acrylic Paint, 59 ml, licorice
1055189 Foam Sheet, 300 x 450 x 2 mm, black
4550028 iZINK Textilfarbe, dalhia

In addition: a large sheet of paper, scrap paper, carbon paper, template, pencil, old lid

1. Cut the Tyvek in two lengthways so you have two 35 x 100 cm pieces. Cover your work surface and place a strip of Tyvek on it. Cut out 6 circles from the paper offcut and spread them over the Tyvek strip. Shake the textile spray before test spraying onto the scrap paper. Then spray the Tyvek table runner with the orange textile spray, paying particular attention to where the circles are. Leave to dry.

Tip: Tyvek can be sewn or glued together with contact adhesive if the table runner is too short.

2. Cut a piece of lino approx 26 x 7 cm. (Do this by cutting the lino upper surface with a scalpel. Then bend it in two to break it, cutting the woven back with the scalpel.) Place the carbon paper on the lino with the template on top. Trace the design with the pencil.

NB: The picture on the lino must always be a mirror image of the final design print. This is especially important to note when text is used.

3. Lino printing is a high-pressure process. This means that everything that remains on the lino’s surface will be visible when printing whilst everything that is cut away will not.

Cut out the contours of the pumpkins with the V shaped cutting blade. Use a slightly wider cutting tool to cut out the eyes, nose and mouth of the pumpkins. Then remove the lino surface around the pumpkins using the wide blade. Since the blades are very sharp, you should always work away from your body.

Tip: If the lino is too hard heat the surface with a hair dryer. When the lino is warm it becomes softer and easer to work with.

4. Place the foam sheet underneath the table runner wherever you want to stamp. Squeeze a little black acrylic paint onto the old lid and work it onto the small roller. Use the roller to cover the lino pumpkin design with a generous coat of paint. Position the lino face down on the table runner where you want to print the pumpkins. Use the clean large roller to slowly roll over the back of the lino, applying even pressure. Carefully lift the lino and re-ink it before printing your next image. Repeat as may times as desired. Then leave to dry.

You can download the template from Efco’s German website. (Clicking the link will open up another window with the German version of this project and you’ll find the template at the bottom of the page.)

Efco’s range of Tyvek products can be seen on Page 92 of the Basics Catalogue.

Wood Veneer Lampshade

Wood Veneer Woven Lampshade
Designed by Kathleen Hauck

Tools:
1802913 – Soft Cut Premium Line Scissors
1802730 – Aluminium Ruler
1802521 – Knife with Professional Blade
1802526 – Craft Mat
1804102 – Hot Glue Gun 55 W for ø 11.2mm
1805005 – Glue Sticks

Materials:
2213015 – Lampshade frame, round 15cm/ø 15cm
2002201 – Waxed Cotton Cord, ø 1mm, 100m, white
3480120 – Wood Veneer, 20cm x 1.25cm, natural
2690000 – Electric Light Holder with switch

In addition: pencil, bulb

Step 1. Cut 12 pieces of waxed cotton cord approx. 40cm long. Wrap a piece of cord in the middle between two struts of the frame and tie a knot. Then tie a piece of cord in the middle between the first cord and a strut. Repeat for the other side of the first cord. Trim the excess cords. Repeat around the lampshade frame so that you end up with 3 cords even distributed between all the struts.

Step 2. Cut a 50cm long piece of wood veneer. Cut two 3cm wide strips and six 2cm wide strips from this piece. Starting with a 3cm wide strip, position the end behind one of the struts. Weave the strip in and out of the cotton cords and struts. Due to the even number of struts/cords (16), the wood veneer strip will end up exactly at the beginning (i.e. behind a strut). Glue the end of the strip to the beginning (behind the strut) using a hot glue gun. Continue in the same way with a 2cm wide strip, except make sure that it begins in front of the strut rather than behind. Continue in the same vein with three more 2cm wide strips and finally a 3cm wide strip, alternating where you start i.e. in front or behind a strut.

Step 3. Use the hot glue gun to stick the two remaining 2cm strips around the top and bottom of the frame to hide it. Attach the electric light holder to the frame and insert the bulb.

Easy Beton Planter

Easy Beton Planter

Materials:
Easy Beton Paste, Cement Grey (9317903)
Easy Beton Paste, Light Grey (9317901)
Easy Moss, Green (9317767)
Easy Moss, Olive (9317765)
Balloon
String or Ribbon
Large Brush
Gimlet (1801810)
Compost and Plants
Optional: Grit or Broken Crockery for extra drainage

Step 1. Blow up a balloon and tie a ribbon or string to the end. Paint at least half of it with a thick layer of cement grey Easy Beton Paste.

Step 2. Use the ribbon/string to hang the balloon up to dry.

Step 3. When touch dry, cover it with another thick layer of paste. Leave to dry. Repeat several times until the paste is approx. 5mm thick (8-9 layers).

Step 4. Add another layer, this time blending some light Easy Beton and Easy Moss Pastes for interest. Leave to dry thoroughly.

Step 5. When completely dry, remove the balloon, peeling it away from the Easy Beton. Do this carefully as the bowl is flexible at this stage.

Step 6. Use a gimlet to carefully drill holes in the base of planter for drainage.

Step 7. If needed, place some grit or broken crockery in the bottom for greater drainage. Then fill the planter with compost and plants.

Alternatively, once you have removed the balloon, you can place the Beton bowl upside-down in a flower bed as structural decoration.

iZink Stamping is Fun!

iZink foam rubber stamps and mini pigment ink pads are perfect for creating interesting backgrounds for cards and gift packaging and if stamped onto tissue paper you could even make your own gift packaging! They can be used in conjunction with other stamps and inks too.

To view a selection of the iZink range of stamps, embossing powders, and 3D Texture Pastes see pages N.37-N.39 of the Autumn/Winter 2017 Trends Catalogue. Alternatively you can view the full range of iZink products including inks and inkpad sets in the Aladine Catalogue on Efco’s German website.

Doodling till Christmas!

Once decorated Efco’s Doodleart boxes are presents in themselves but they also make excellent packaging for those extra special presents!

They can be decorated with colouring pencils, pens, watercolour pencils & crayons, alcohol markers, and even inks or paints. Embellishments such as ultrafine glitter and crystals can also be added with adhesive. And to protect them you can even spray them with Efco’s matt, satin or gloss varnish.


To see the complete range of Doodleart boxes check out the Autumn/Winter 2017 Trends Catalogue.

Water Drops Lantern

Water Drops Lantern – Texture Mat and Sunshine Window Color
Designed by Kathleen Hauck


Tools:

1823105 Plastic Spatulas, 17 – 19 cm
1803103 Universal Scissors, 16 cm

Materials:
9381501 Painting Acetate, 200 x 300 mm
9500513 Drops Texture Mat, 90 x 90 mm
9380014 Sunshine Window Color, 50 ml, orange
9380026 Sunshine Window Color, 50 ml, fire red
2609213 Lantern Glass, 12.5 x 10 x 10 cm
3509002 Candle, ø 60 x H 85 mm

In addition: Paper Towel

1. Place the texture mat on the painting acetate. Cover the texture mat with some red Sunshine window colour, spreading it out with the spatula. Make sure that the recesses of the pattern are completely filled with the window colour. Pick up any excess colour with the spatula, wiping it off on a kitchen towel. Leave to dry.

Tip: Move the spatula back and forth to remove any air pockets. Also jiggling and tapping the painting acetate under the texture mat can help make the air bubbles rise.

2. Apply a second thick layer of orange Sunshine window colour directly from the bottle over the entire design. If necessary, smooth the surface with the spatula, again, tapping the painting acetate so that any trapped air can rise. Leave to dry.

NB: Because this second layer is slightly thicker, the drying process can take up to 2 days. If you try to remove the motif from the texture mat too soon the layers may separate, leaving the relief in the mat.

3. Carefully remove the motif from the texture mat. The best way to do this is to carefully remove the dried paint from the edges first, working your way in to the centre. Cut the drops out with scissors and position them on the lantern glass. Then place the candle in the vase.

You’ll find the lantern glass in Section 10 Decoration on page 403; Sunshine Window Colours in Section 16 Paints on page 627 and Texture Mats in Section 1 Crafting-Basics on pages 96-101.

Turtle Bookmark

It’s amazing what you can create with simple shaped punches!

The turtle on this bookmark is from Christine Urmann’s “Mini Figures for Punches” book and is created using different sized circle punches.

Turtle Bookmark
designed by Kathleen Neumann

Tools:
1802523 Comfortline Scalpel
1802730 Aluminium Ruler
1802830 Cutting Mat DIN A4
1802532 Comfortline Hobby Scissors
1793114 Circle Punch L 2.8 cm
1791010 Circle Punch M 2.5 cm
1793009 Circle Punches L 10, 12, 14 mm
1790011 Circle Punches S 3, 10 mm
1792019 Rounded Corner Punch M,
1789899 Circle Punch 6mm

Materials:
1549970 My Color Cardstock Pine Forest, Dark Green
1549967 My Color Cardstock Desert Cactus, Lime Green
1549963 My Color Cardstock Limelight, Light Green
1549901 My Color Cardstock Snowbound, White
1549989 My Color Cardstock Black Magic, Black
1906010 Acryl opak Marker Thin Point, White
4511281 Clear Drops Stamp
4510903 Acrylic Block with Recessed Grip
4510999 Stamp Mat, Black
4511947 Versacolor Pigment Ink Pad, Light Blue
4520063 Woodies Exlibris 2
4511965 Versacolor Pigment Ink Pad, Green
4511400 Stamp Cleaner
9362009 Double-sided Deko-Tape
9586505 White Craft Glue
2002265 Waxed Cotton Cord, 1 mm, Green

In addition: Kitchen Paper, Pencil

1. Cut a 7 x 14 cm rectangle from the dark green card and a 6 x 13 cm rectangle from the white card. Round the corners of both rectangles with the rounded corner punch.

Position the large Clear Drops stamp on the acrylic block and ink it up with the light blue ink pad. Stamp it onto the smooth backside of the white rectangle. Repeat with the small Clear Drops stamp. Stamp the Woodies Exlibris stamp with green ink in the open middle area of the large Clear Drops stamp. Leave to dry.

Stick the white rectangle to the dark green rectangle with double-sided tape.

Punch a 6mm circle at the top end of the bookmark. Cut four 20 cm lengths of cotton cord and thread them through the hole. Tie all cords together in a knot and, if necessary, cut the ends to the same length with scissors.

2. Create the turtle using punches according to the instructions in the “Mini Figures with Punches” book. Stick it together using the white craft glue and then stick it to the bookmark with double-sided tape.


You will find all the punches and Christine Urmann’s “Mini Figures with Punches” book (which is available in English, German, French and Italian) in the Everything For Paper Catalogue.