Party season is still with us so these coasters might prove useful as they can be used as place settings as well as coasters…

Cloth Star Coaster
Designed by Kathleen Hauck
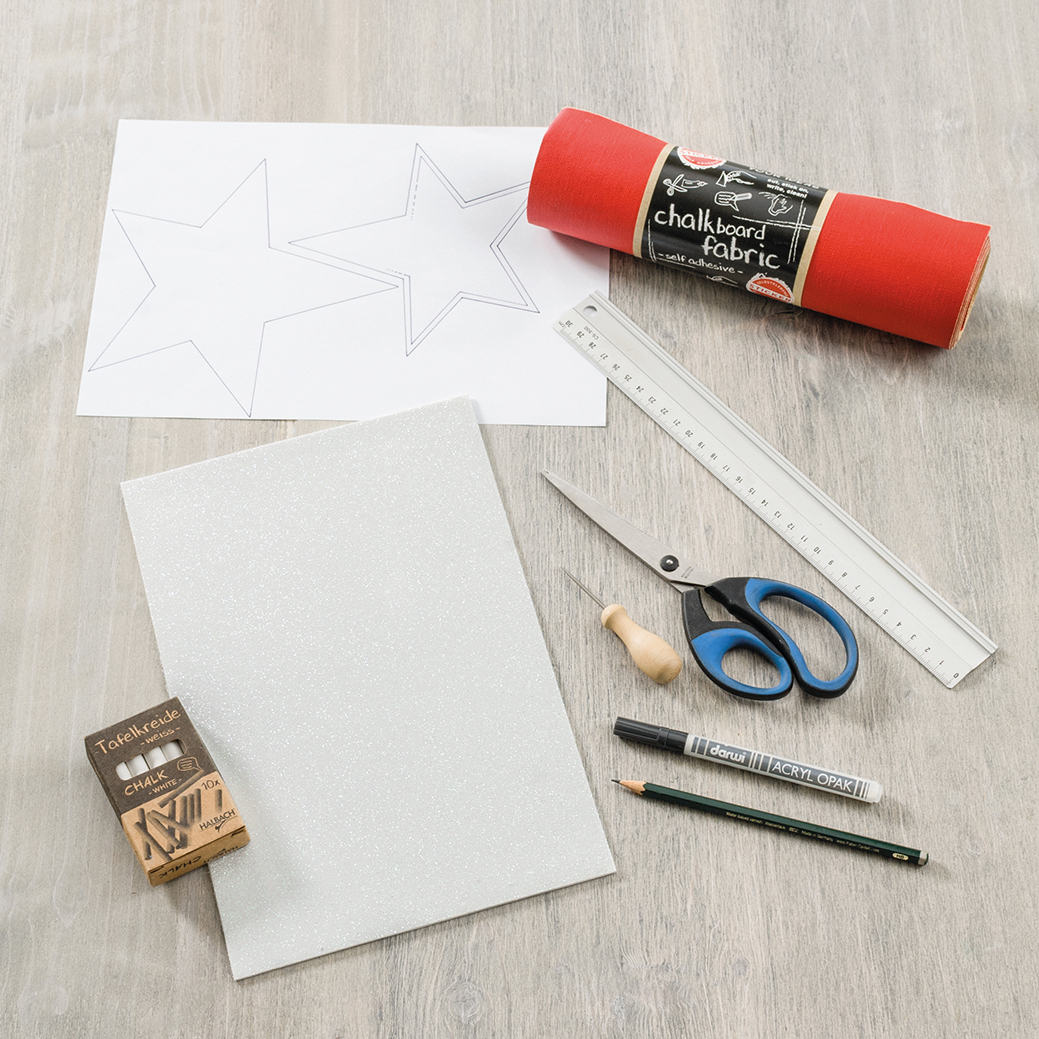
Tools:
1827109 Awl, 9 cm
1802913 Soft-Cut Premium Line Scissors, 21 cm, Black/Blue
1802730 Aluminium Ruler, 30 cm
Materials:
1054001 Glitter Foam Sheet, 200 x 300 x 2 mm, White
3464725 Red Chalkboard Fabric, Self-Adhesive, 25 cm x 2 m
1906010 Acryl opak Marker, Thin Point, 3 ml, White
3465100 Chalk, White, 10 sticks.
In addition: Template, Pencil

(1) Cut out the larger star from the template and transfer it onto the back of the Glitter foam rubber with the awl. Cut out the star.
Cut out the smaller star from the template and transfer it to the back of the chalkboard fabric with the pencil. Cut out the star.
Note: If the foam rubber star is cut out, please check once again whether the fabric star is transferred correctly. Otherwise, it may happen that the chalkboard star is reversed and does not fit on the foam star.

(2) Peel the backing from the back of the fabric and glue the red star in the centre of the white foam rubber star. Using the ruler and the white opaque marker start drawing another star parallel to the cut edge of the red star. (As per the small star on the template with the line petering out into dashes and dots.) Leave to dry. Then write down the guest’s name with blackboard chalk.
You can view and download the Star template here: Star Template
Note: The lines that were drawn with the opaque marker are waterproof after drying, so they can not be wiped away. The name, which was written in chalk, can be wiped off with a damp cloth and changed at any time.
You’ll find Efco’s range of chalkboard fabrics in the current Trends 2018 Catalogue.